
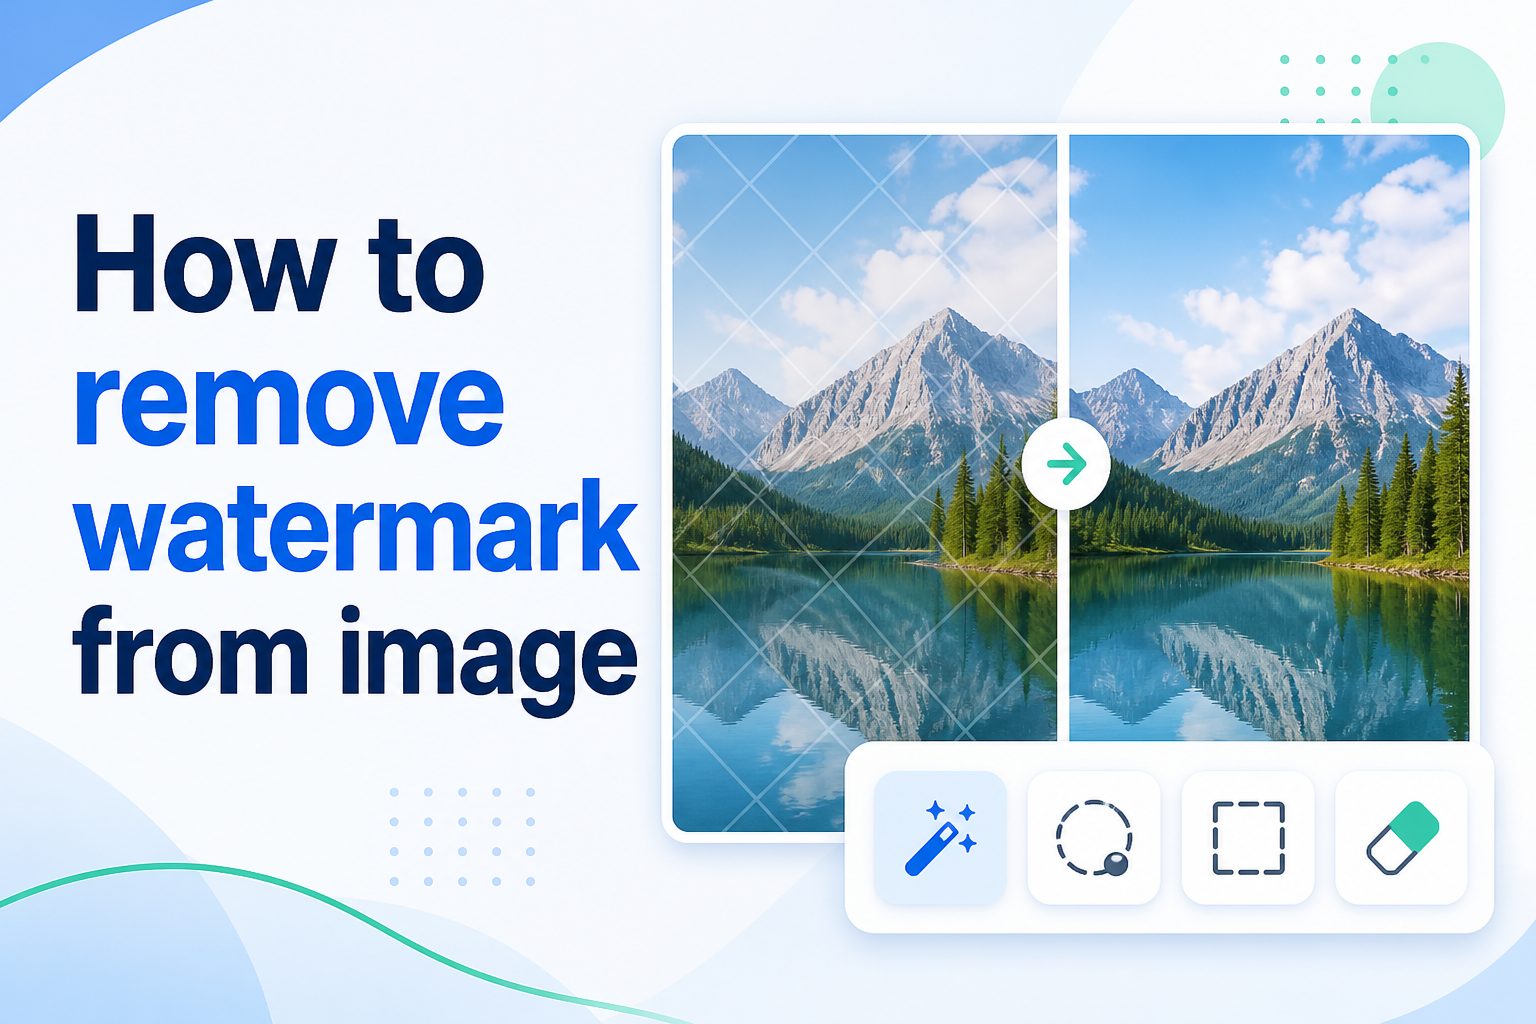
Learning how to remove watermark from image files can be useful when you are working with your own photos, licensed graphics, old drafts, or images that were exported with an accidental mark. A watermark may cover an important detail, make a design look unfinished, or prevent you from reusing an image in a clean presentation. Still, watermark removal should always be handled responsibly. You should only remove a watermark from an image you own, created yourself, purchased with the right license, or have clear permission to edit. This guide explains what watermarks mean, when removal is appropriate, which methods work best, how to protect image quality, and what mistakes to avoid. You will also learn practical steps, examples, best practices, and answers to common questions so you can make clean edits without damaging the image or ignoring ownership rights.
What Image Watermark Removal Means
Watermark removal is the process of cleaning visible text, logos, stamps, or semi-transparent marks from an image when you have the right to edit that file.
1. Visible Watermarks
Visible watermarks are marks placed directly on top of an image, often as text, a logo, or a repeated pattern. They are used to show ownership, prevent unauthorized use, or label a preview version, so removing them requires permission or ownership.
2. Draft Export Marks
Some design tools add watermarks when a file is exported from a trial, free plan, or preview mode. If the project is yours, the best solution is usually to export the image again from the original software after upgrading or adjusting export settings.
3. Stock Image Watermarks
Stock image watermarks show that a file is only a preview and not licensed for final use. Removing this type of watermark without buying the license is not appropriate, and it can create copyright problems for personal or business projects.
4. Ownership Labels
Photographers, designers, and businesses often add ownership labels to protect their work online. If you need a clean version, request permission, buy the file, or ask the creator to provide an unmarked copy instead of editing without approval.
5. Personal Editing Needs
Watermark removal is reasonable when the image is your own, such as a photo exported from your editing app with a misplaced logo or a design mockup that includes an outdated brand mark. In those cases, careful editing improves usability.
6. Quality Restoration
Removing a watermark is also a restoration task because the hidden area must be rebuilt. Good results depend on texture, lighting, image resolution, and how much important detail sits beneath the watermark area.
When It Is Okay To Remove A Watermark
Before you edit, confirm that you are allowed to remove the mark. The right context matters as much as the editing method.
You Own The Image
If you took the photo, created the graphic, or commissioned the work with full editing rights, removing a watermark is usually acceptable. This often applies to brand assets, product photos, personal portraits, and internal design files.
You Have Written Permission
Permission from the copyright owner makes the situation clearer. Keep the approval, license terms, or project agreement in your records, especially if the image will be used for marketing, publishing, packaging, or client-facing materials.
The Watermark Was Added By Mistake
Sometimes a watermark appears because of a wrong export preset, outdated template, or editing app setting. If the image is yours, removing the accidental mark or exporting a clean version is a normal part of correcting the file.
The License Allows Editing
Some licenses allow modification, while others restrict changes. Read the license carefully before removing any mark, because a paid download does not always mean unlimited editing rights for every commercial or public use.
You Are Restoring Personal Files
Old family photos, scanned documents, and personal archives sometimes contain stamps or labels that no longer matter. If the file is personal and not owned by someone else, careful cleanup can help preserve a cleaner version.
You Are Preparing Internal Drafts
Internal mockups may need temporary cleanup for layout testing or presentations. Even then, use properly licensed final images before publishing, advertising, selling, or distributing the finished work outside your private workflow.
Best Ways To Remove Watermark From Image Files
Different watermark types need different editing methods. Choose the option that protects image quality and respects the source file.
1. Re Export The Original File
The cleanest method is to return to the original project and export the image without the watermark. This avoids guesswork, preserves detail, and produces a better result than trying to repair pixels that were already covered.
2. Use A Clone Tool
A clone tool copies pixels from a nearby clean area and paints them over the watermark. It works well on simple backgrounds, skies, walls, fabric, and repeated textures, but it requires patience to avoid obvious repeating patterns.
3. Try Healing Or Repair Tools
Healing tools blend sampled pixels with surrounding color and texture. They are helpful for small watermarks, thin text, or marks on skin, paper, and soft backgrounds where smooth blending matters more than exact pattern copying.
4. Crop The Image
If the watermark sits near an edge, cropping may be the fastest and cleanest option. This method avoids artificial repair, but you should check that the new composition still keeps the main subject balanced and complete.
5. Use Content Aware Fill
Content aware tools analyze the nearby image area and generate a replacement. They can save time on larger marks, but results vary, so you should inspect edges, shadows, lines, and repeated details after applying the fill.
6. Recreate The Covered Area
For complex images, you may need to rebuild details manually using layers, brushes, gradients, and copied elements. This is slower, but it gives more control when a watermark crosses faces, products, text, architecture, or detailed patterns.
Step By Step Watermark Removal Process
A careful process helps you avoid rushed edits, poor quality, and legal confusion. Use these steps before publishing or sharing the final image.
- Check Ownership: Confirm that you own the image or have permission to edit and use it.
- Find The Original: Look for the source file, clean export, layered design, or licensed download before editing pixels.
- Make A Copy: Work on a duplicate so you can return to the original if the edit goes wrong.
- Choose The Method: Use cropping, healing, cloning, content aware fill, or manual reconstruction based on the watermark location.
- Zoom In Carefully: Edit at a close view so edges, textures, and shadows are easier to control.
- Blend The Area: Match brightness, color, grain, and sharpness with the surrounding image.
- Review At Full Size: Inspect the whole image because edits that look good close up may stand out at normal viewing size.
- Export Properly: Save a high-quality version in the right format for web, print, or presentation use.
Tools For Clean Watermark Removal
The right tool depends on your skill level, image complexity, and whether you need a quick fix or professional restoration.
1. Desktop Photo Editors
Desktop editors usually offer the most control because they include layers, masks, clone tools, healing brushes, and advanced selection features. They are best for professional work, detailed product images, and edits that must survive close inspection.
2. Mobile Editing Apps
Mobile apps can handle simple watermark cleanup when the mark is small or placed on a plain background. They are convenient for quick personal edits, but large watermarks or detailed areas may need a stronger desktop workflow.
3. Online Cleanup Tools
Online tools can remove small objects or marks quickly, often with automated selection and fill features. Use them carefully with private images, client work, or sensitive files because uploading images to unknown services may create privacy concerns.
4. AI Image Repair Tools
AI repair tools can predict missing pixels and rebuild covered areas with impressive speed. They work best when the surrounding context is clear, but you should always check that the generated result does not distort faces, products, or text.
5. Original Design Software
If the watermark came from a design template, editing the original design is better than repairing a flat image. Removing or hiding the watermark layer and exporting again gives cleaner edges, sharper text, and more reliable quality.
6. Professional Retouching Services
Professional editors are useful when the image is valuable, complex, or intended for commercial use. They can rebuild details more naturally, match texture and lighting, and deliver a cleaner file than fast automated tools.
Key Watermark Removal Factors
Several factors decide whether the final edit will look natural. Review these before choosing a method.
- Image Rights: The most important factor is whether you are legally allowed to remove the watermark and use the clean version.
- Watermark Size: Small marks are easier to remove, while large marks may cover important details that are difficult to rebuild.
- Background Detail: Plain backgrounds are simpler, but faces, text, products, and patterns require more careful editing.
- Image Resolution: Higher resolution gives more pixels to work with and usually produces cleaner repairs.
- Final Use: A social post may tolerate minor imperfections, while print, ecommerce, and advertising need a more polished result.
Common Watermark Removal Mistakes To Avoid
Most poor results come from rushing, ignoring rights, or using one tool for every situation. Avoid these common problems.
Removing Marks Without Permission
The biggest mistake is treating every watermark as an editing problem instead of an ownership signal. If the image belongs to someone else, get the correct license or approval before removing the mark or using the clean version.
Overusing Blur
Blur may hide a watermark quickly, but it often leaves a soft patch that looks unnatural. Viewers may notice the damaged area more than the original mark, especially when the rest of the image is sharp.
Ignoring Texture
A good edit must match texture, not just color. Skin, fabric, grass, walls, and paper all have different grain and detail, so a flat painted patch can make the repair obvious even from a distance.
Cropping Too Much
Cropping is useful, but aggressive cropping can remove context, cut off the subject, or weaken the composition. Check the final frame before accepting a crop as the easiest solution.
Saving Too Many Times
Repeatedly saving compressed images can reduce quality and create artifacts. Work from the highest-quality file available, keep an editable version, and export the final image only when the cleanup is complete.
Skipping Final Review
Watermark edits can look acceptable while zoomed in but strange at normal size, or the reverse. Always review the image at different zoom levels and on the background where it will actually appear.
Best Practices For Removing Watermark From Images
Good watermark removal is careful, ethical, and focused on producing a natural-looking result without damaging the image.
1. Start With The Cleanest Source
Always search for the original file, licensed download, or layered project first. Editing a clean source gives better quality than repairing a flattened image where the watermark has already replaced useful visual information.
2. Work Non Destructively
Use duplicate layers, masks, or separate edit copies whenever possible. Non destructive editing lets you compare changes, fix mistakes, adjust opacity, and return to the original without starting the whole repair again.
3. Match Light And Shadow
Watermarks often cross areas with subtle shadows and highlights. After removing the visible mark, check whether the repaired area follows the same lighting direction and brightness as the surrounding image.
4. Use Small Brush Strokes
Small, controlled strokes usually look more natural than one large repair. This approach helps you blend texture gradually, avoid repeated patterns, and correct tiny problem areas before they become obvious.
5. Compare Before And After
Toggle between the original and edited version to judge whether the repair improved the image. A comparison helps you catch color shifts, soft patches, strange edges, and details that were accidentally removed.
6. Keep Proof Of Rights
If the image is for business, keep invoices, licenses, contracts, or written approvals. Clear records protect you later and show that the watermark was removed as part of an authorized editing process.
Examples Of Watermark Removal Use
Examples help show when watermark removal is practical and when a different solution may be better.
Product Photo Cleanup
A business may need to remove an outdated internal logo from its own product photo before updating an online catalog. Since the company owns the image, careful retouching can make the photo usable without arranging a new shoot.
Personal Photo Repair
A person may have a family photo exported from an old app with a small trial mark in the corner. If the photo is personal, cropping or healing can restore the image for printing or archiving.
Presentation Design Fix
A designer may accidentally export a slide graphic with a draft label visible. Returning to the design file and exporting a clean version is usually better than editing the finished image by hand.
Real Estate Image Update
An agency may need to remove an old office watermark from photos it owns before using them in a refreshed brochure. The edit should preserve straight lines, wall textures, lighting, and room details.
Social Media Asset Refresh
A brand may update its visual identity and remove a previous campaign mark from owned images. In this case, editing supports consistency, but the final image should still look natural and match current brand standards.
Scanned Document Cleanup
Some scanned personal documents or historical materials may include visible stamps added during digitization. If cleanup is allowed, removal should be done carefully so important text, dates, signatures, or archive details are not lost.
Advanced Watermark Removal Tips
Once you know the basics, these techniques can help produce cleaner edits on more difficult images.
1. Repair In Sections
Large watermarks should be repaired in small sections instead of one big selection. This gives you better control over changing backgrounds, especially when the mark crosses different colors, edges, shadows, and textures.
2. Use Multiple Samples
When cloning or healing, sample from several nearby areas rather than copying one patch repeatedly. Multiple samples help prevent duplicated shapes, repeated texture, and obvious patterns that make the edit look artificial.
3. Preserve Natural Grain
Digital images often contain grain or noise, even when they look smooth. If a repaired area becomes too clean, add subtle matching texture or reduce over-smoothing so the area blends with the rest of the image.
4. Protect Important Edges
Edges around faces, products, buildings, and text need extra care. Use precise selections, smaller brushes, and manual touchups so the repair does not warp lines, soften details, or change recognizable features.
5. Check Color Transitions
Watermarks placed across gradients, skies, skin, or shadows can leave uneven color after removal. Review the transition around the repaired area and adjust tones gently so the eye does not catch a sudden change.
6. Export For The Final Medium
An image used on a website, print flyer, or presentation may need different export settings. Choose the right size and quality level after editing so the final file stays sharp without becoming unnecessarily large.
When To Avoid Watermark Removal
Removing a watermark is not always the right choice. Sometimes the better answer is licensing, replacement, or a new image.
When You Do Not Own The Image
If you found the image online and do not have permission, do not remove the watermark. Look for a licensed version, contact the creator, or choose a different image that you are allowed to use.
When The Mark Covers Key Detail
If the watermark covers a face, product label, signature, or important text, removal may create a misleading or low-quality result. In these cases, getting a clean source is usually the better solution.
When The License Forbids Editing
Some licenses allow use but do not allow modification. If editing is restricted, removing a watermark could violate the agreement, even if you paid for access to the image in another form.
When Accuracy Matters
For legal, medical, news, or documentary images, removing marks can change how the image is interpreted. Keep the original intact unless you have a clear, ethical reason and permission to create an edited version.
When Quality Will Drop Too Much
If the repair creates blur, distortion, or missing detail, the final image may look less professional than before. A new photo, licensed download, or redesigned graphic may save time and produce a cleaner result.
When A Clean Export Exists
Do not spend time repairing pixels if you can export the clean image from the source file. Re-exporting is faster, sharper, and more reliable than trying to reconstruct areas hidden by a watermark.
Frequently Asked Questions
Is It Legal To Remove A Watermark From An Image?
It depends on ownership and permission. If you own the image, created it yourself, or have a license that allows editing, removal may be acceptable. If the watermark belongs to someone else or marks an unlicensed preview, removing it is not appropriate.
What Is The Easiest Way To Remove A Watermark?
The easiest method is to use the original file and export it without the watermark. If that is not possible, cropping, healing, cloning, or content aware fill may work, depending on where the watermark sits and how complex the background is.
Can AI Remove Watermarks From Images?
AI tools can help repair image areas by filling missing detail, but they should only be used on images you have the right to edit. AI results also need review because they can invent details, distort objects, or create unrealistic textures.
How Do I Remove A Watermark Without Losing Quality?
Start with the highest-resolution version, work on a copy, use careful local edits, and avoid excessive blur. Match texture, lighting, and sharpness before exporting. If a clean source file exists, use that instead of editing a compressed image.
Can I Remove A Stock Photo Watermark?
You should not remove a stock photo watermark from an unpaid preview. The correct approach is to purchase or license the image, then download the clean version provided by the stock service under the proper usage terms.
Why Does My Edited Image Still Look Patchy?
Patchiness usually happens when the repaired area does not match surrounding texture, grain, lighting, or sharpness. Use smaller edits, sample from multiple nearby areas, and review the image at normal size to catch obvious repair marks.
Conclusion
Removing a watermark from an image can be useful when the file is yours, the mark was added by mistake, or you have clear permission to edit it. The best results come from using the cleanest source, choosing the right method, and reviewing the repaired area carefully.
Before editing, always confirm image rights and consider whether a clean export, proper license, or replacement image is the better option. Responsible watermark removal protects both image quality and creative ownership while helping you create a polished final file.